Thursday, December 31, 2009

Sewing circle in January!

Block January 13th on your calendar. Katherine, from the blog I've been thinking of you, invites us to an event that is sure to be a lot of fun: a sewing circle!


[POSTER.jpg]

I've read about it in the Hand Embroidery Network (HEN) website. It seems simple, you just need a piece of fabric measuring 20 x 20 cm and sew it on Jan 13th between midday and midnight (I've already sent her an email asking about the time zone!). You can start it before and finish it after that time, but the fun is in forming a community during this period of time. It would also be nice to invite friends to do it together. It could even be during lunch time, at work.

It's just too easy. Let's take part of it?

Wednesday, December 23, 2009

Many things to share

Finally, after a long time, the garden blooms again!

I've got many things to share, I even thought of splitting in various posts to separate the subjects, but leaving everything together shows how much happened during my absence from here.

First of all, the nativity scene is obviously not done yet - if I couldn't find time to update the blog, imagine embroidering! Some things changed in my routine (against my will, I must say), and now there's less time for the personal stuff. Christmas is in 2 days and this is the last picture of the scene:


The young shepherd isn't done yet. And it still misses the details, the stars, the sky, the contour. It'll really be for next Christmas, but I do think it's coming out beautiful! Something that made me lose time was that "little mistake" I've made in counting stitches, remember?


Couldn't get it? Look closer:


Anyway... next year.

Another day, I believe two Sundays ago, I've had a big surprise: when I got home, I found out that there was a package waiting for me! Look what it was:


My Trish Burr books! I've waited for them for several weeks (imported books take a while to get here), but I was really glad to get them. Is there a better way to start a new week than with books that beautiful?

They all explain the basic stitches of thread painting, the same technique that Mary Corbet taught (and that I've followed for a while, before holding everything to start the nativity scene). I'll get back to her lessons, and then start a series of posts inspired by them and Trish's books. I hope I can teach the little I know, and that you get as excited with it as I did!

Something sad: I've ordered Mary Thomas's Dictionary of Embroidery Stitches book, but it's unavailable! Not even Amazon has it on stock... it's been really well recommended by Mary Corbet and also by Amazon customers, but... I don't know how to get it.

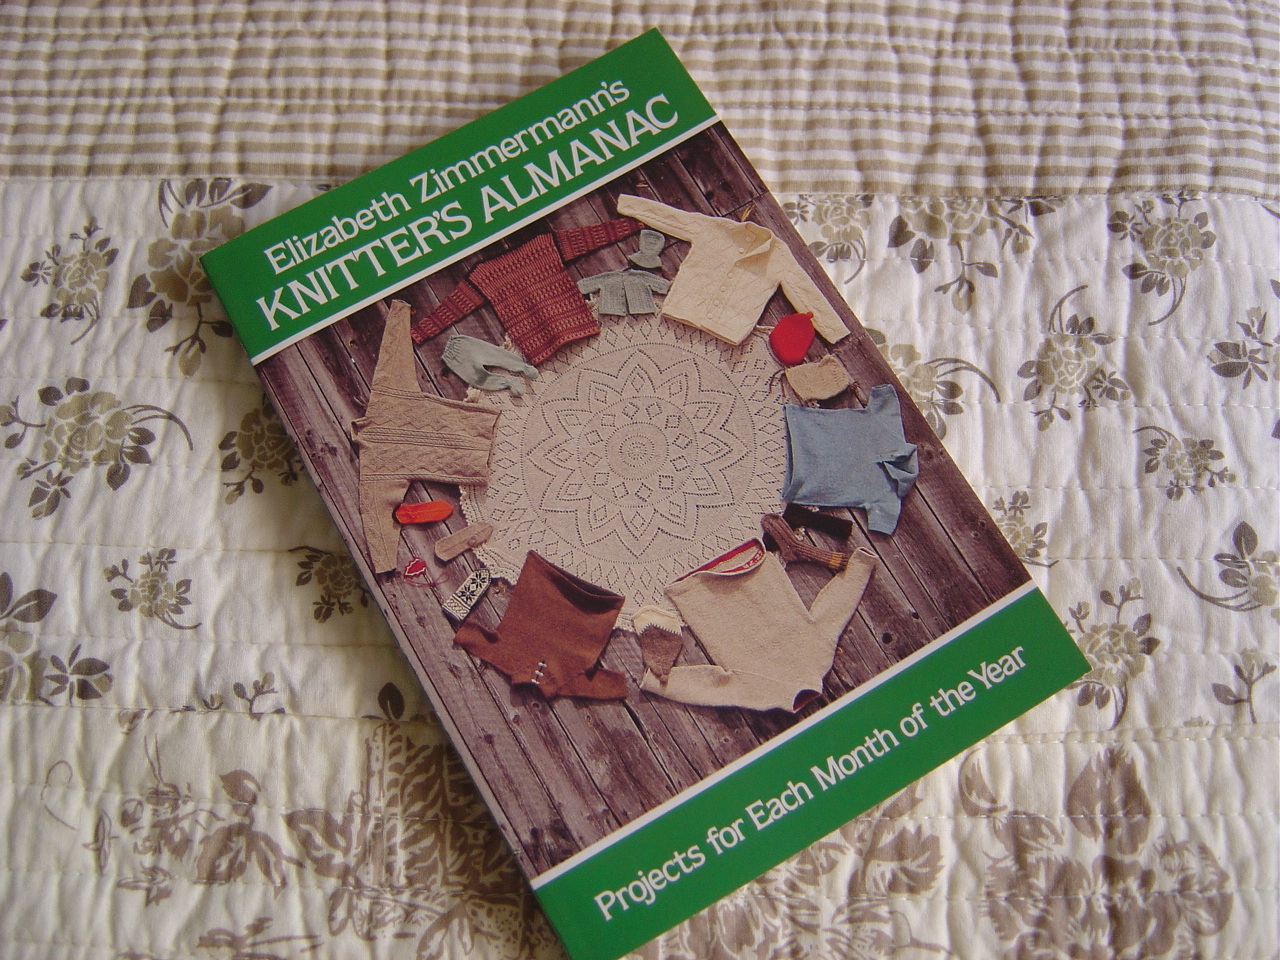
Two weeks later the last book I've ordered arrived:


My friend L. will have to wait until next year to put her hands on it! I can already tell you that I loved it, I've started reading the moment I got it out of the box. EZ, like the folks in the knitting lists use to call the author, has also written the famous Knitting Without Tears - it's on my gift list for myself, but just like the nativity scene, it'll be for next year! The Knitter's Almanac has a story+project for every month of the year - it follows the north hemisphere seasons, so maybe it would be more comfortable to follow a different order over here. If you get started in doing everything like EZ does: she urges the knitter to change all things, follow the instinct and adapt the projects at will. Sometimes it seems like she's giving a hard time on people who follows everything as is on the graphics (like me, for instance... but I've just started knitting!). I recommend it, it's really lovely to read!

What else? Oh yes, my friend S. came to visit, and I had a book to give her as a gift. But I am absolutely against paper wrap, you know? You spend money, make a nice wrap, the person opens it, and it goes to trash. Inadmissible. So that I just HAD TO MAKE a last minute gift wrap:


Isn't it cool? She can use it to take books with her to the subway, or use it to keep something at home, documents or anything. It was really simple and quick, and I think it came out nice. She loved it! I'll publish a post later with the tutorial.

Are you in a hurry this year-end too?

Sunday, November 29, 2009

Tutorial: Passport Wallet

After a long time, I'll do as I promised: behold the passport wallet tutorial!


Before anything, remember I've done it a few days before traveling, and I was DYING to do something on my sewing machine. So the fun was in making it, and not worrying if it was perfect. And having only made one purse with my machine before this project, imagine my skills with it...

The project started on paper, of course, but I added things as I went. Don't mind the crooked sewing, and go ahead!

The drawing I've made before starting cutting fabrics was sort of like this:


I've measured my passport (it's 9 x 13 cm), and then I've added a few centimeters around. I also wanted to have pockets I could use for credit cards, and I've ended up adding another pocket behind the one for the passport. Concept done, hands on!

Don't forget to add to the measures below, so you have sewing margins. 0,5 cm each side are usually enough.

Cut the plain fabric:

- one piece 10 x 11, for the passport pocket
- one piece 16 x 11, for the pocket behind the passport
- two pieces 7 x 11, for the smaller pockets
- one piece 16 x 22,5, to be behind all pockets (the back of the wallet)

On the patterned fabric:

- two pieces 5 x 11, to close the smaller pockets
- one piece 16 x 22,5, to be the exernal part of the wallet

Also cut a piece 16 x 22,5 cm of filling.


First sew the pockets: the one behind the passport on the back, and the passport pocket over it. Now sew the small pockets on the back fabric. Then sew the pocket flaps apart, and after that sew them above the pockets. Finally, make the sandwich with the internal part (with all the pockets already in place), the filling and the external part, wrong side out. Leave a space without sewing so you can turn the sandwich the right way.

Turn eveything inside out, and push the corners with a pencil or even a knitting needle. Sew the opening to close.

I've chosen to close out the wallet with buttons, but you could also make a flap with velcro - one of the buttons got ripped out in the middle of the trip, because the backpack was a mess during our long walks.


But it's cute to close it with elastic, and you can fill the wallet as much as you need and things are hold tight in there.

That's it! Very simple and made in two hours. It's very practical during travels, because you can keep everything inside it, and the size makes it easy to find inside the purse. I hope you enjoyed it, go ahead and leave a comment! If you have questions about any steps, just write me about it. Have you ever done any project like this, without much planning, from the top of your head? Let me know!